I'm working on a pot in pottery class. The pot isn't done yet, but in the meantime you can see the experiments and proofs-of-concept here.
I wanted to see what would happen if I impressed a lace pattern into the clay, then colored the impressed part in one color and the not-impressed part in another color. My first attempt was with a pinch pot.
I learned two things from this: First, I needed to use a very coarse lace in order for the pattern to be deep enough to color the impressed and not-impressed parts separately; the lace I used on the pinch pot was too fine. And second, impressing the lace on the pot tends to deform it. I decided that instead of using a pinch pot, I would roll a slab, impress the lace into the slab, and then roll up the slab into a tube and attach the base.
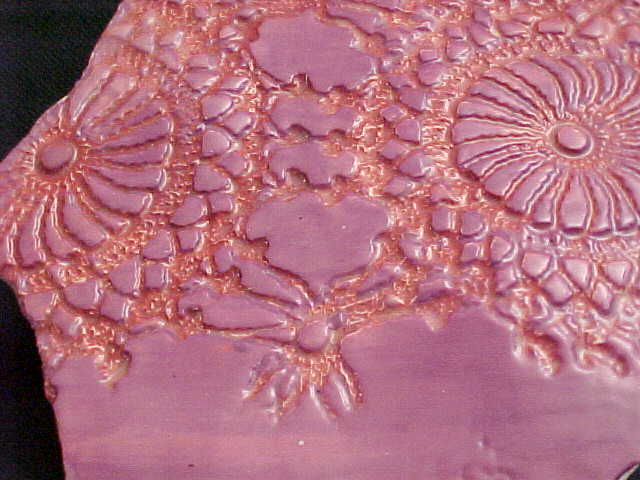
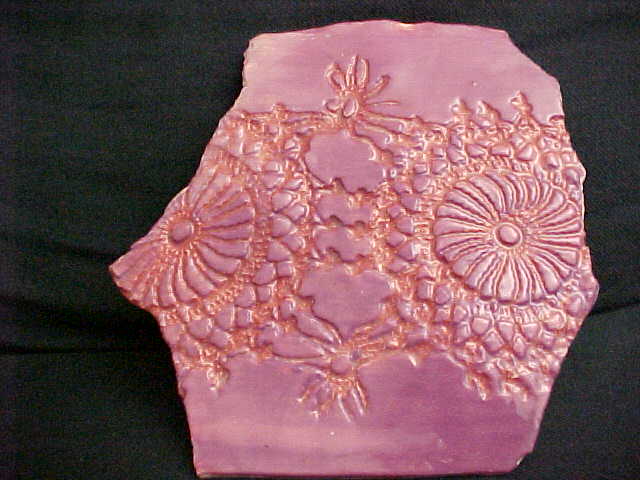
I made the slab and impressed the pattern, but then I misunderstood my instructor's suggestion to wrap the slab in plastic for next week. I wrapped it in newspaper, and by the following week it was too dry to roll up. So I decided to use it as a test slab and have it fired flat. I painted it with a rose-colored underglaze and put it on the shelf for firing.
The kids in the Saturday class must have thought it looked cool, because they picked it up and broke it into several pieces. This turned out to be lucky, because I was able to glaze each of the shards a different way:
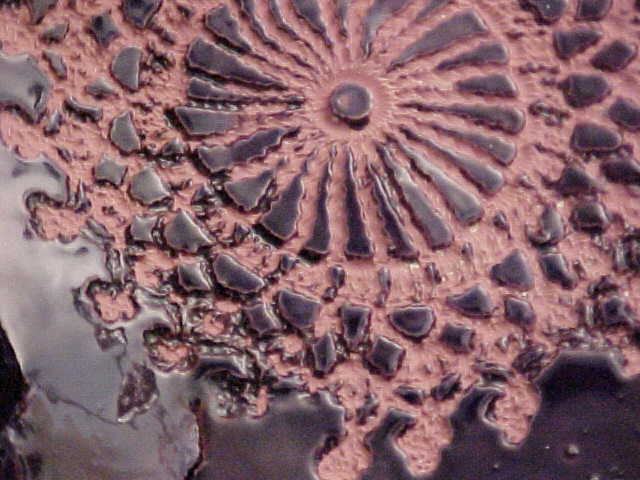
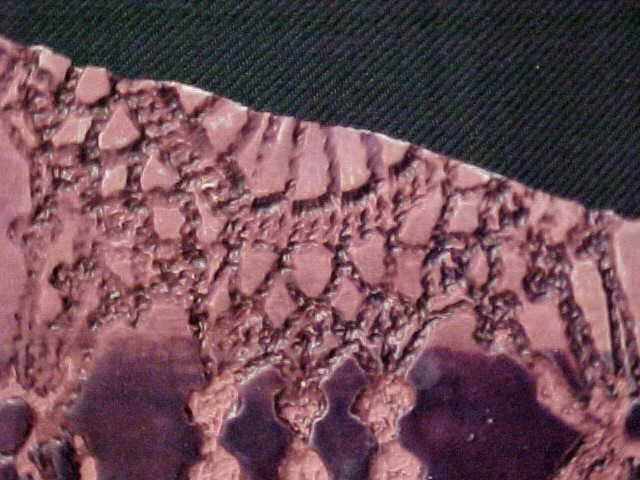
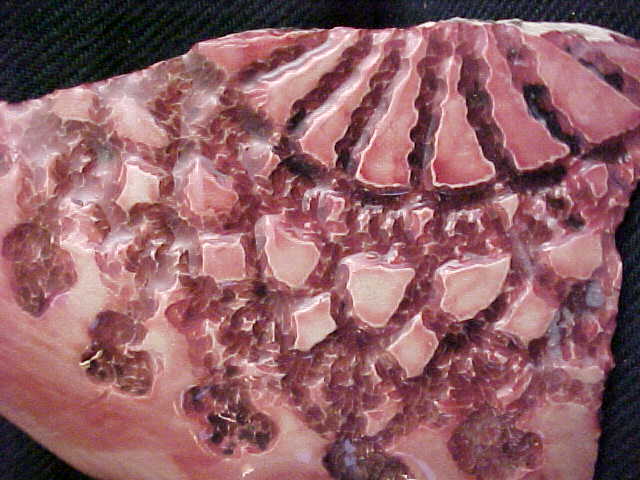
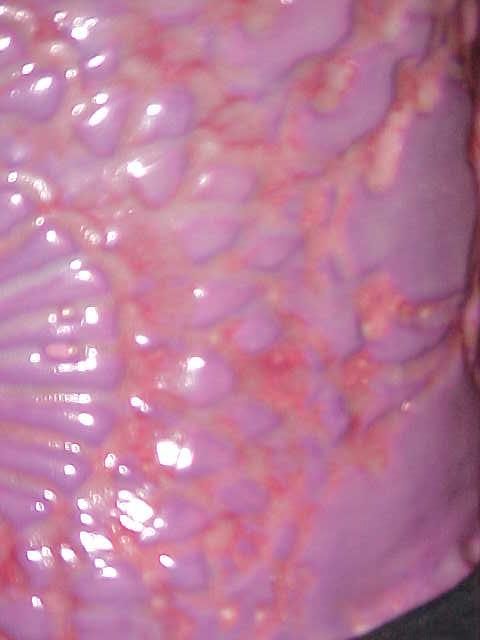
This large shard got two different treatments with gobalt blue glaze. The deep blue looks black in the picture for some reason, probably because I didn't use the flash.
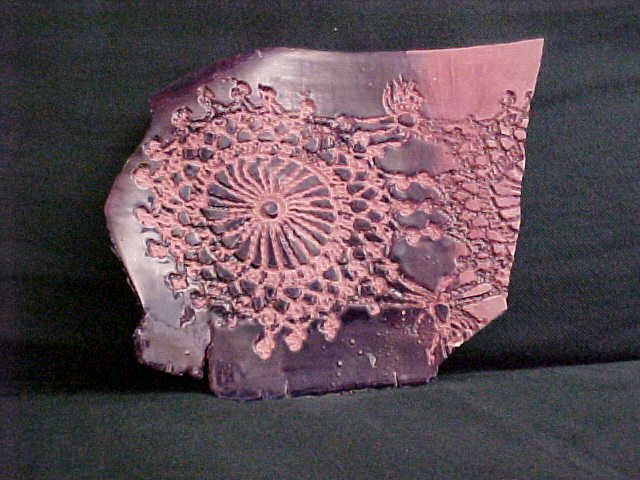
In the treatment on the left, I glazed just the bosses, being careful not to get it in the crevices. In the treatment on the right, I glazed the whole area, including the crevices, and then washed the blue glaze off of the bosses, leaving it behind in the crevices only.
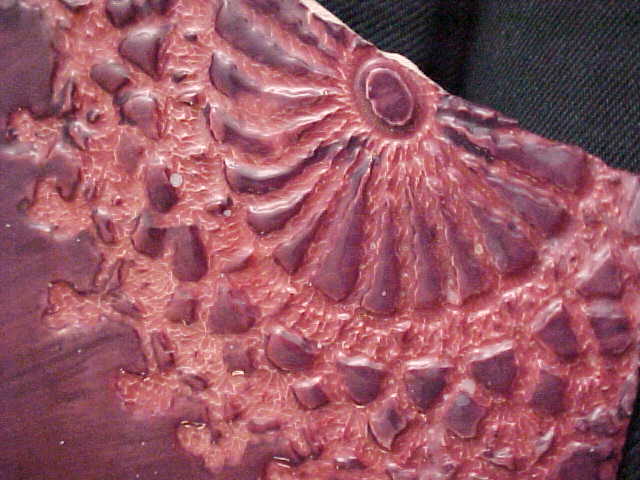
Here I put black stain over the entire piece and then washed it off of the bosses, leaving it in the crevices. Then I put a clear gloss glaze over the entire piece.
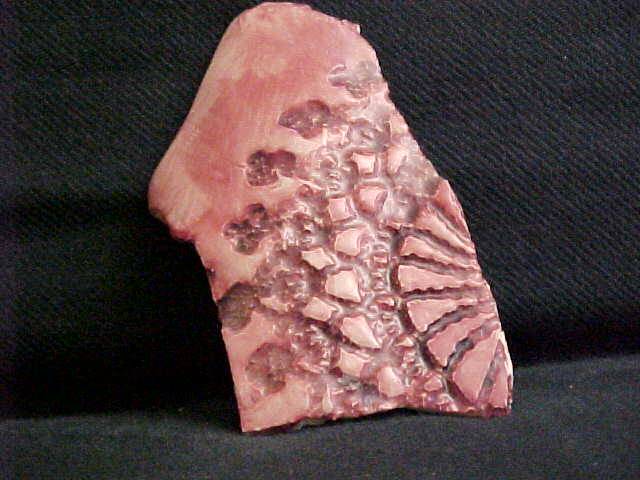
Here I painted only the bosses with a purple underglaze, being careful not to get it into the crevices. Then I put a clear gloss glaze over the whole thing.

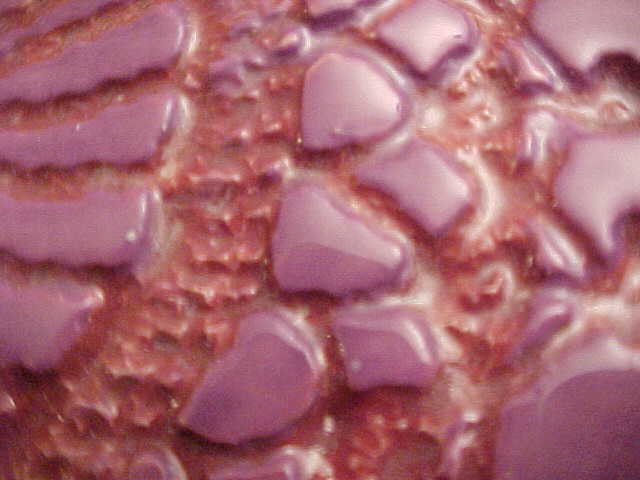
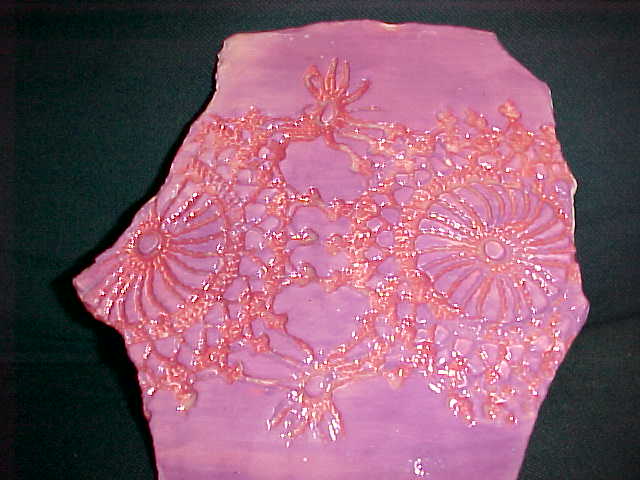
Here I put purple underglaze everywhere, including in the crevices, and then washed it off. It turns out to be impossible to wash it out of the crevices, so I ended up with a rose piece with purple crevices.
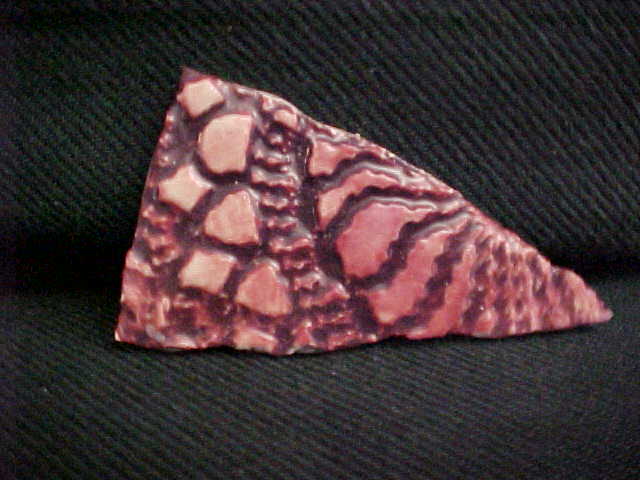
The original conception for the piece had pink crevices and lavender bosses. I also put a clear gloss glaze over the whole shard. Having tried six or seven different approaches, I eventually decided I liked this one best after all.
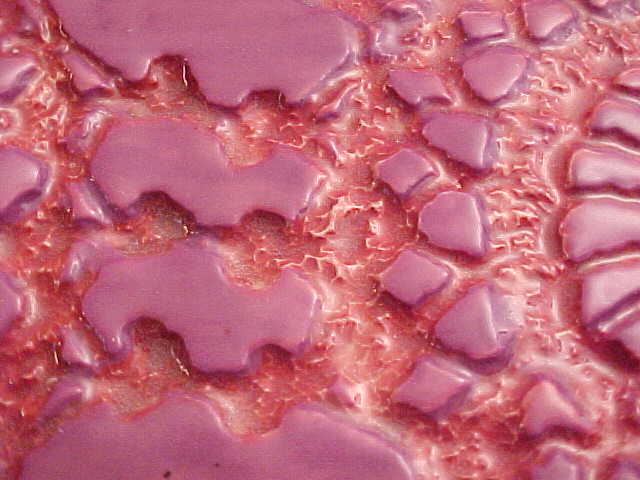
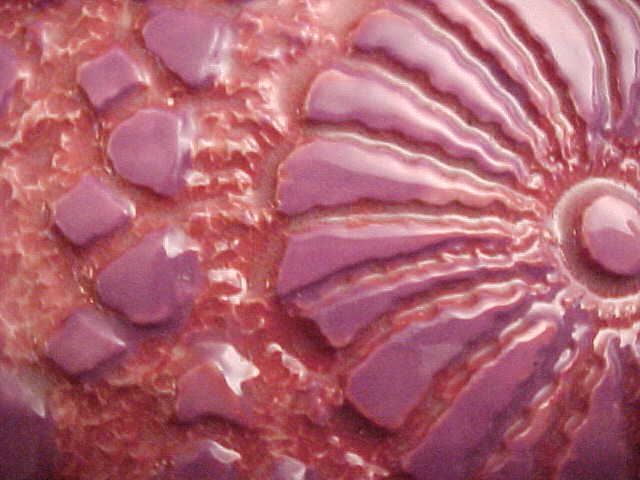
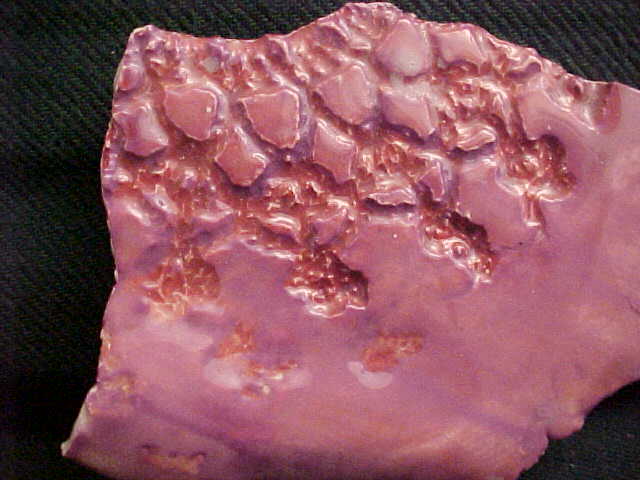
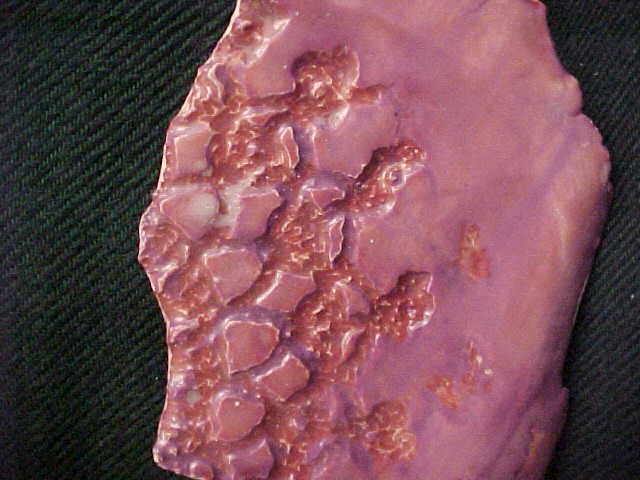
This big thing I learned from these two shards is that I need to let the lavender underglaze dry more thoroughly before I put the clear glaze over it, or else the underglaze looks all brushy.
I threw away the first slab pot. The second one looked much better. After trimming it and putting on the three coats of rose underglaze, I sent it in for first firing last week. If the Saturday class doesn't get to it first, I should put on the lavender underglaze on Thursday and send it in for second firing. Tune in next week for pictures of the finished product.
I did indeed put the lavender underglaze on on Thursday and dried it under the heat lamps. Then I put the clear gloss glaze on and sent to pot in for second firing. Lesson learned while underglazing: Make sure the brush is dry if you don't want the underglaze to get into the crevices.
Unfortunately, I didn't get the pot back the following week, because it was Thanksgiving. I got it back two weeks later, on November 29.
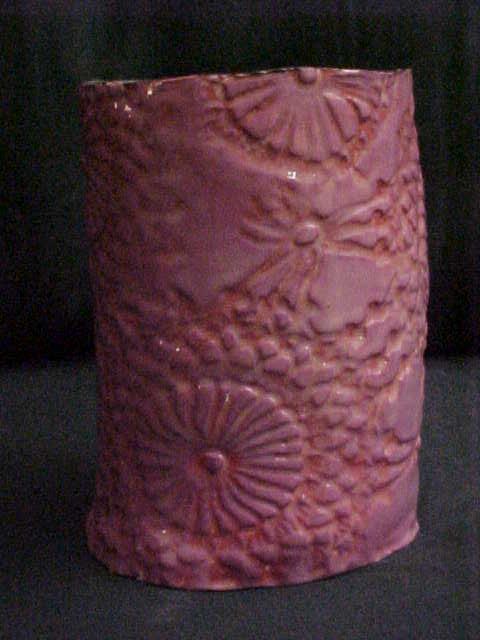
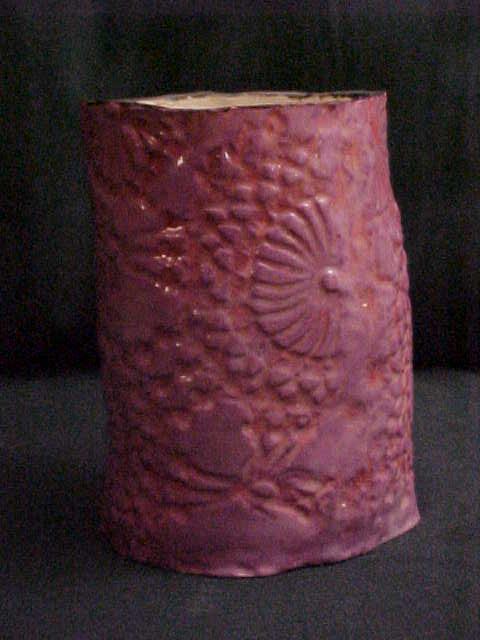
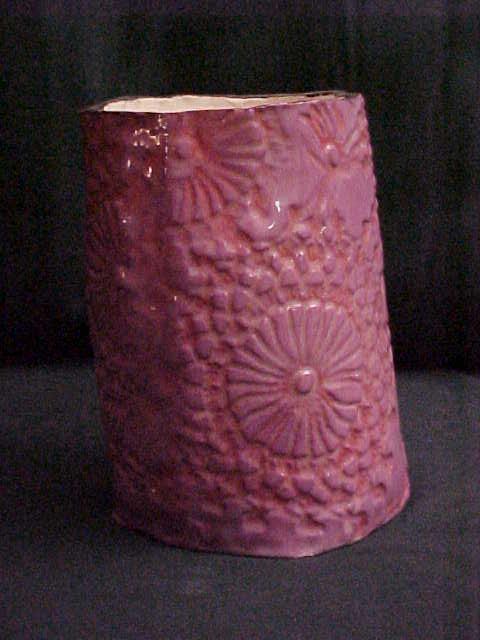
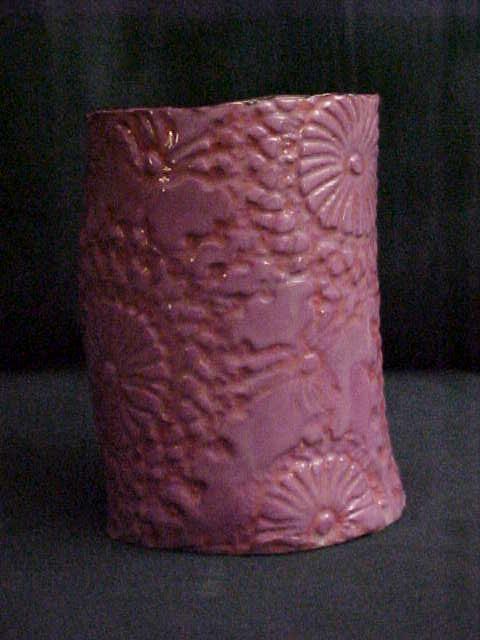
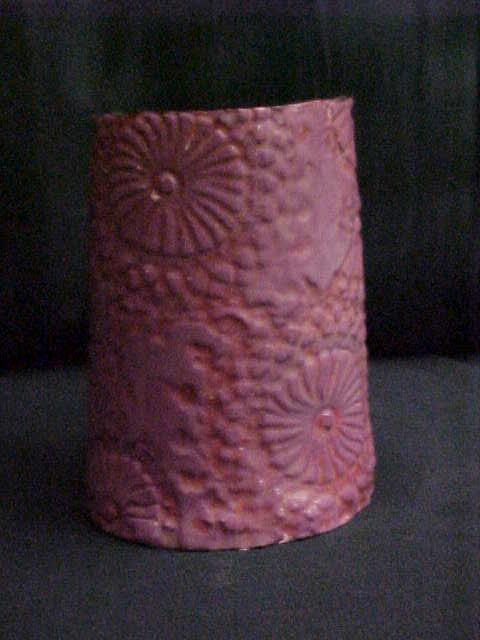
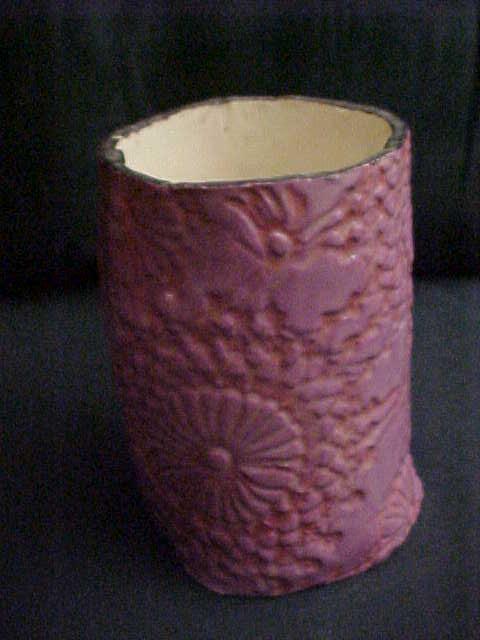

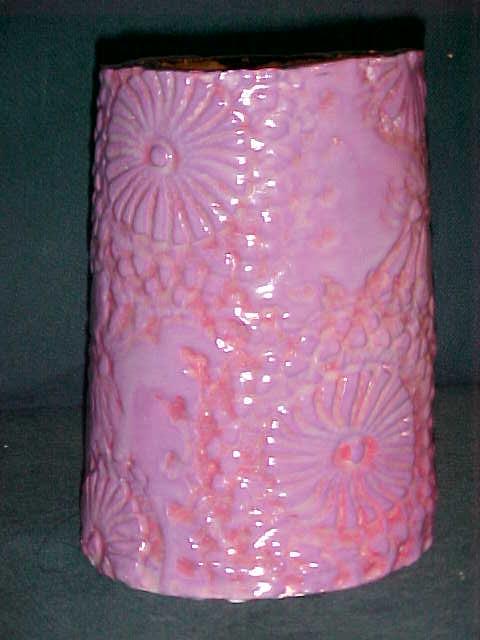
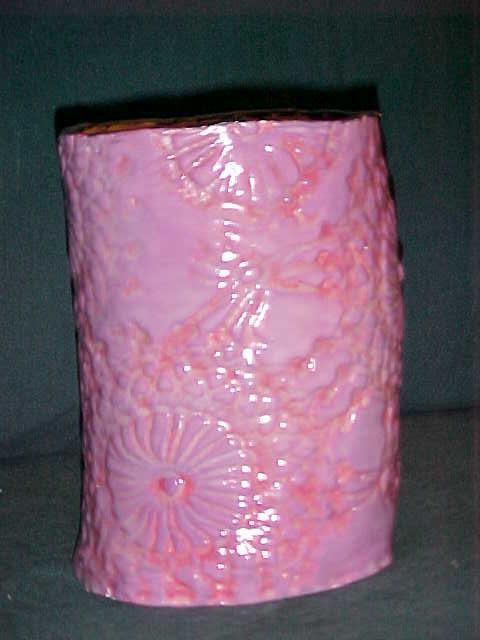
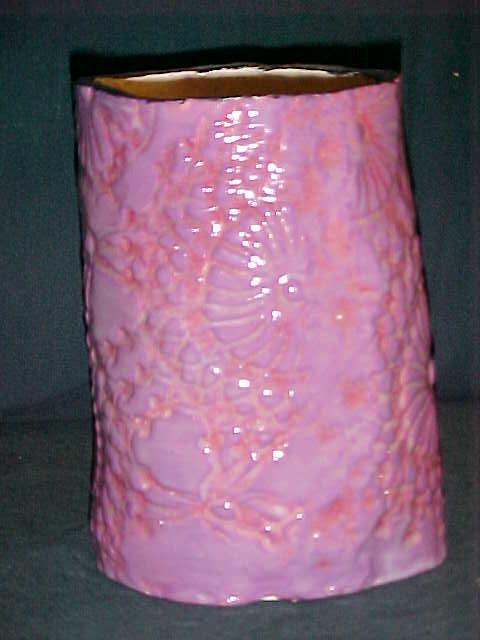
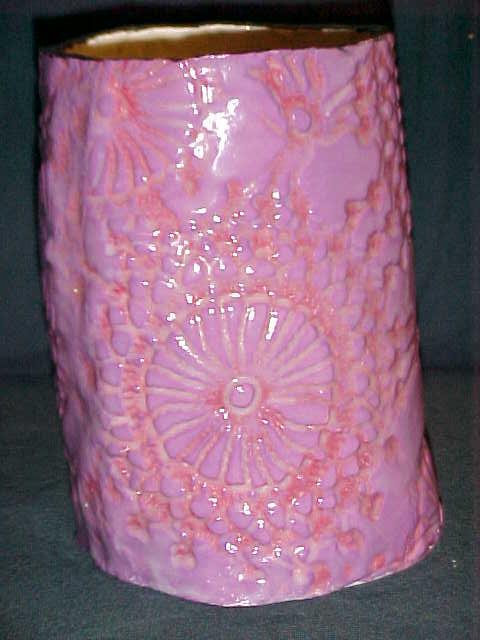
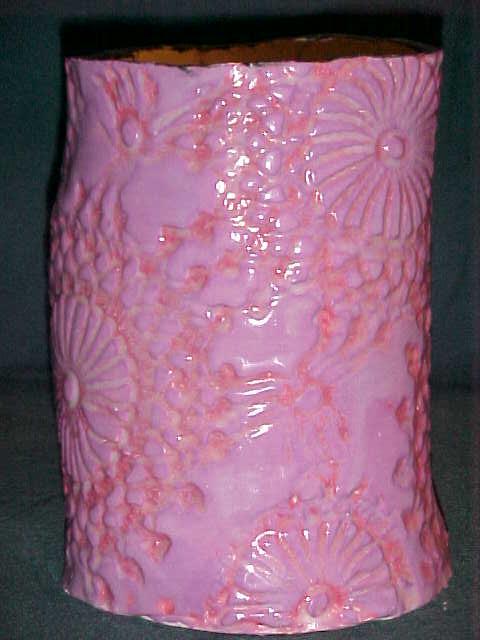


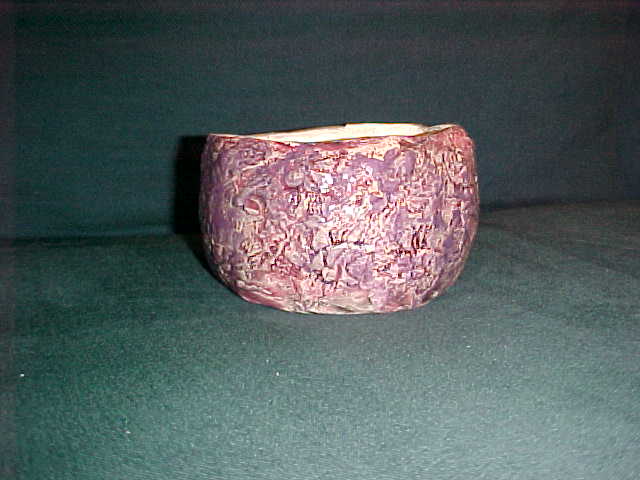
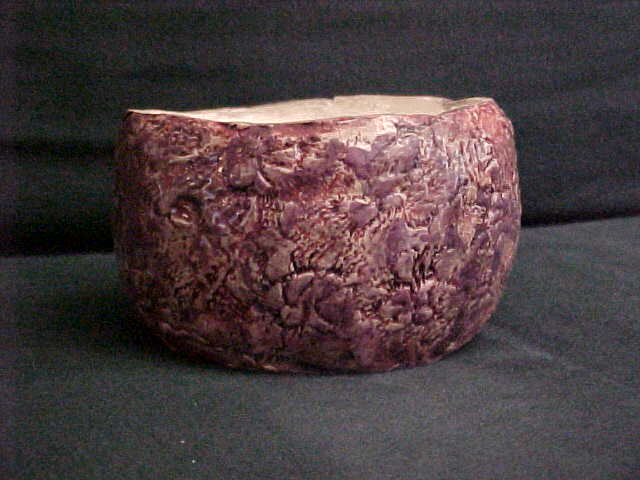
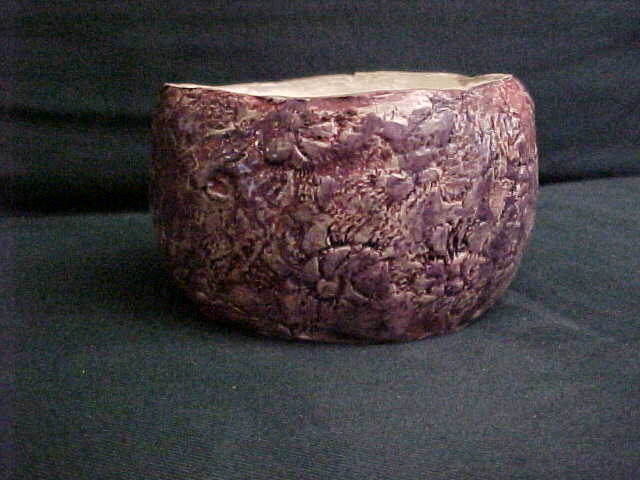
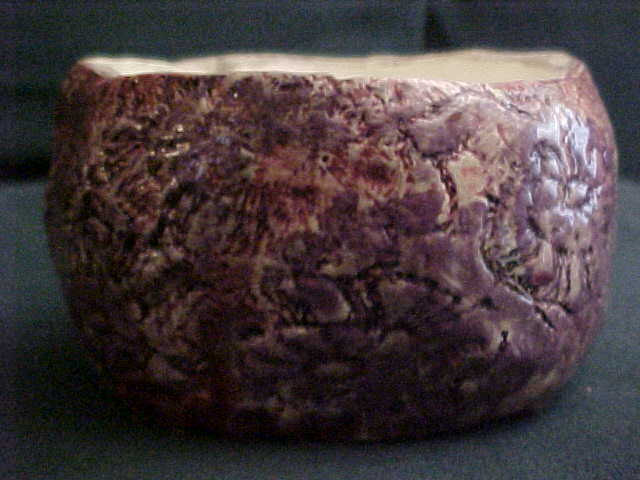
(Both rows of pictures show the exact same pot. The bottom row was taken with the camera flash on.)
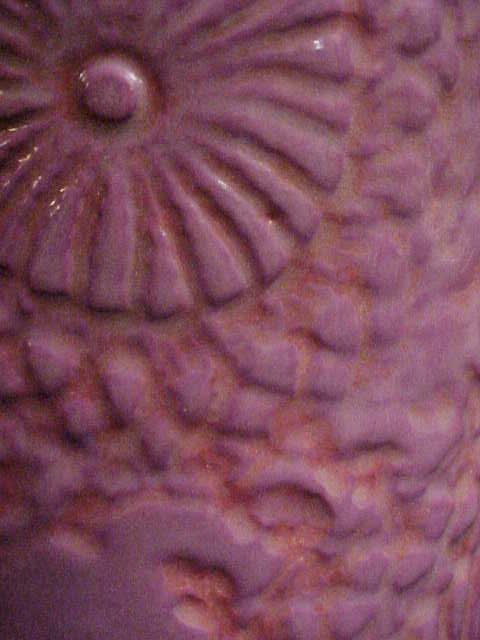
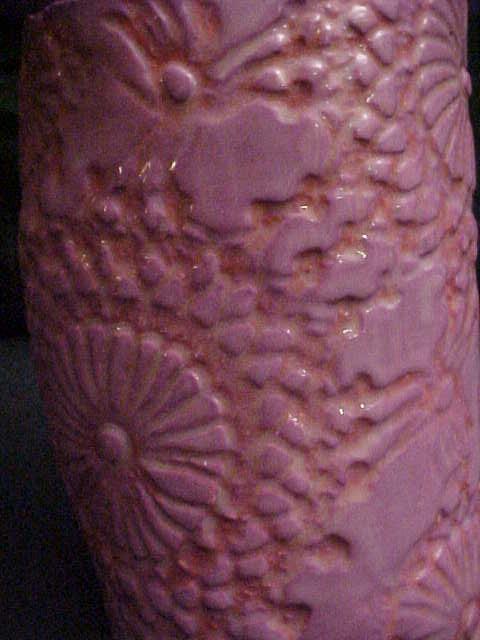
The finished piece looks pretty good. The biggest problem is with the basic execution of the pot itself. It's somewhat lopsided because of where I pressed it in along the seam where the ends of the slab are joined. (You can see this most clearly in picture #4.) The pot also flares at the bottom because I had to press on it to attach it to the base. i think I will be able to make a more cylindrical pot next time. Now that I know that my double-underglaze technique works, I will be able to concentrate more on the basic execution.
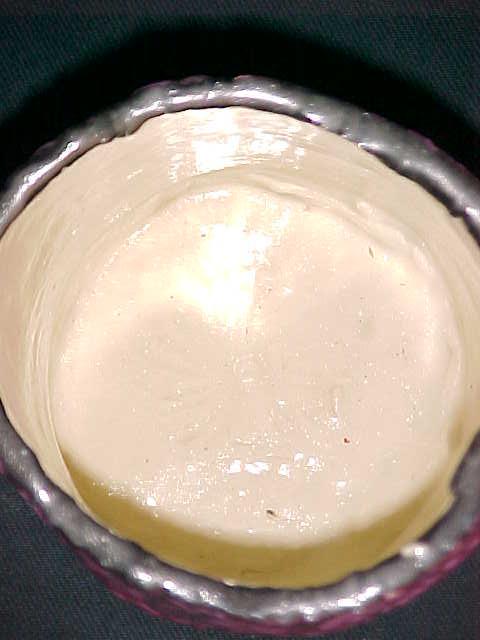
I also made a mistake with the glaze. The clear gloss claze turned cloudy because I put on too much. (This shows up very clearly in the pictures, especially the two closeups: * *) If I hadn't done this, the colors would have been much brighter. I will know better next time.
In the spring term, I made another pot by the same process. It came out a lot better. It's taller and straighter than the first pot. The walls are also thinner. Also, I didn't overglaze it this time (except in one spot) so the colors are a lot brighter and the texture in the crevices is much clearer. Photographs coming when I can make them.
Technique note: After you roll out the slab, you have to impress the lace pattern into it. When you impress the lace pattern, you should use a little rolling pin instead of a big one, because the big rolling pin will tend to scrub out the impressions you've already made. Duhhhh.